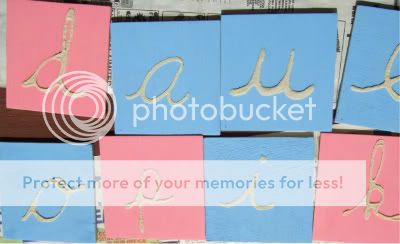
Not having a lot of room, and not having a lot of money I was forced to economize this project. So I've decided to use both sides of these boards. If you wish to make a full set of each alphabet, you'll need twice as many pieces as I used. (this method isn't ideal for beginning learners since there is more chance for confusion, however, my homeschooler already knows the print letters and fully grasps the differences. When it comes time to teach the other 2, I'll be right there to help guide them)
Alphabet - 26 5"x5": 2 - 4 sets
Digraphs - 16 5"x7": 1 - 2 sets
Numerals - 10 5"x5": you'll only need one set of these
Materials:
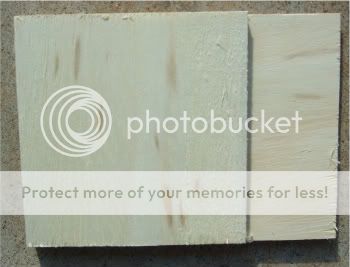
-I used 1/4 inch thick "Sand-a-ply" which is probably a brand name. It is just plywood with 2 good sides covered in a soft wood that is already roughly sanded but is also easy to sand. You can buy balsa or bass wood from the craft store but it will be more expensive overall.
-Sandpaper 220 and 300 grit
-Craft paint (pink, blue & green +4 other colors if you are doing 2 sided) and painting supplies
-Wood glue
-Sand, I would have preferred white but all I found was "sand" colored. It came from the craft dept in a bottle
-A surface to apply the sand on, I used a tray
-Light acrylic spay sealer
-Use your favorite method to cut the wood - mine involved Hubs' best friend who happened to be visiting and had nothing to do while Hubs was at work :)
But he used our table saw and electric miter saw

-Sand the sides and edges of the wood. Since it should be rough sanded a 220 grit should be enough. On the particular kind of wood I used, it stayed a little "fuzzy", but don't worry, this will be resolved later. 180 is a rougher grit, so if your wood isn't pre-sanded or is a harder wood, use that.
-Paint the wood in the Montessori colors you choose. There are different examples out there, ultimately I chose Apple Barrel Valentine Pink for consonants, Apple Barrel Carolina Blue for vowels and Apple Barrel Spring Green for digraphs.
- Sand again with 220 -300 grit. If you didn't see any fuzz or raised grain before, you will after you've painted.
-Retouch any spots that need it after sanding
-Have you chosen your font? Learning Curve and Penmanship Print are my favorites. But in the end I just free-handed it based on these.
-Draw a faint pencil line of your letter.

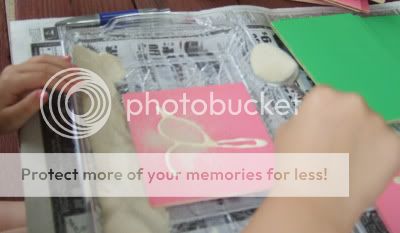
-Go over the line with wood glue

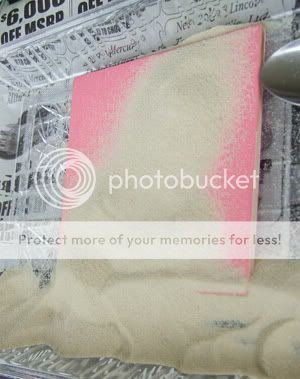
-Pour the sand over the glue, be generous what ever doesn't stick will fall into the tray and can be reused.

-Let it sit for a few minutes then shake it off on the tray.
-Allow at least a day for the glue to cure then continue.
* Go to the last step if you're making individual sets
-On the opposite side repeat the steps
-I recommend choosing the most different letters and to turn the wood upside down to limit confusion. Which ever way you choose, make sure they're all the same relative orientation.
-Also, Pick 4 additional colors of paint (or paint pen, or alcohol based marker).
-For 1 set: Line up one of the cases, ie all lower-case cursive lined up correctly and paint the top end (the 1/4 inch thick part)
-Paint each of the other sides a different color so that when they are in the tray it is easy and clear to see that they are aligned properly
-For the second set, make sure you use a different combination of colors so it isn't easy to mix up the sets if children will have access to both. Ideally, use 8 colors. If you're a crafter, you've probably got that many ;)
-After the glue has cured, spray with light coat of acrylic spray, not enough to impede the sanded texture but enough to help keep it clean in case the finger "sensitizing" didn't happen first.
